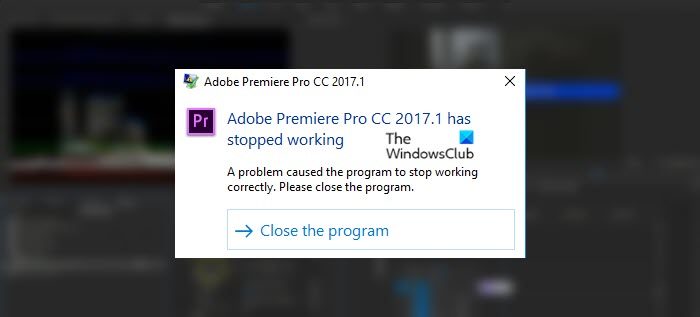
Fix Adobe Premiere Pro has stopped working
Why does my Adobe Premiere Pro keep crashing?
Adobe Premiere Pro or any other flagship video editing tool needs a reasonably powerful computer to run on. If your system is weak, chances are the app will crash as soon as you hit the render button. However, this doesn’t mean that an average computer meeting the requirements can’t fail to run the application. There are some things such as corrupted cache, wrongful configuration, etc that can trouble you. Also, if your computer is barely meeting the requirements, then you should know that you can not run a whole lot of processes in the background, they will consume resources that should have been used by your video editing tool. We will be talking about everything in detail and see what you need to do to stop Premiere Pro from crashing.
Fix Premiere Pro crashing or stops working on Windows 11/10
If Premiere Pro is crashing and you see Adobe Premiere Pro has stopped working message on your Windows 11/10 PC, the following are the solutions you need to follow. Let us talk about them in detail.
1] Reset Preferences
Premiere may cease to work on your system because of some wrongful configuration of the settings. Fortunately, there is a way to reset all the settings and preferences and make them default, hopefully, this will do the job for you. Check if the issue persists.
2] Disable GPU Acceleration
For a lot of users, turning off GPU Acceleration has worked. This will, especially if you don’t have a powerful CPU. Try the following solutions to do the same. Finally, restart the system and check if the issue persists.
3] Delete Media Cache
Sometimes, the issue can be because of corrupted cache files. You don’t have to delete the app to get rid of the cache, you can easily do that from the Adobe utility itself. Close Premiere Pro, reboot your computer, and see if it works.
4] Close all the other apps
If you have a ton of apps running in the background, then probably, it is taking a lot of your resources. This may not be the case for you but if your computer is inferior, that is, it has a weak CPU and GPU. Open Task Manager by Ctrl + Shift + Esc. Right-click on the apps that could cause problems and select End Task. Hopefully, this will do the job for you.
5] Update Graphics Drivers
Since Premiere Pro is a graphically-intensive program, it needs updated Graphics Drivers. Therefore, you should update the drivers and see if it helps. There are a lot of ways to update Graphics Drivers in a Windows computer, following are some of them.
Install Optional Updates to update the Graphics DriversGo to the manufacturer’s website and download the driver.
Hopefully, this will do the job for you.
6] Troubleshoot in Clean Boot
A third-party application can interfere with your video editing tool and cause trouble. To know what application we are talking about, you should perform Clean Boot. This way, you will boil down the potential culprits to find the right one. Then remove it to resolve the issue.
7] Reinstall the app
If nothing works, then this means that your app is corrupted. So, in order to fix it, you have to do a reinstallation. Go ahead and uninstall Premiere Pro. Then download a fresh copy of the app to install it on your system. Finally, check if the issue persists. That’s it!
Is Premiere Pro compatible with Windows 10?
Yes, Premiere Pro is compatible with Windows 10, but what you need to know is it compatible with your computer. For that, check the minimum system requirement mentioned below.
Processor: Intel® 6th Gen, or AMD Ryzen™ 1000 SeriesGPU: Check supported GPUs from helpx.adobe.com.Display: 1920 x 1080RAM: 8 GBSound card: ASIO compatible or Microsoft Windows Driver Model
Also Check: Fix Error Code 3, Error compiling movie, Export error on Premiere Pro.

