Such personalization can be exported and imported according to the user requirement. You can backup all customizations done in the ribbon is possible with the help of the Export option. This option allows users to save the personalization settings for future reference in both internal folders and USB. Microsoft Office has provided another option that allows the user to share the exported file with another user by using the import command of the application. In this tutorial, you will learn the way to export and import the ribbon menu settings.
How to Export Office Ribbon Menu Settings
To export the ribbon menu on the same or different computers, use the below instructions: Let us now see them in details:
To get it started, open the Microsoft Office app first. In the app area, go to the File tab and then select Options at the bottom. From the left side, click on Customize Ribbon. In the right pane, go to the lower right corner of the window and click on the Import/Export option (under Customize Ribbon) as displayed in the image above. Then select the Export all customizations option. Thereupon a file saving window will open. Here give the file name, select the location where you want to save the ribbon customization file, and then click the Save button to save it. Once you complete the above instructions properly, the customization file is created and is saved now. You can use this file to import the settings on any other computer. Read: How to reset Ribbon Customizations to default in Office?
How to Import Office Ribbon Menu Settings
After exporting the ribbon settings for the Microsoft Office app, you can import ribbon customization settings on the other computer you need. Follow the below instructions to import the ribbon menu settings to your another device:
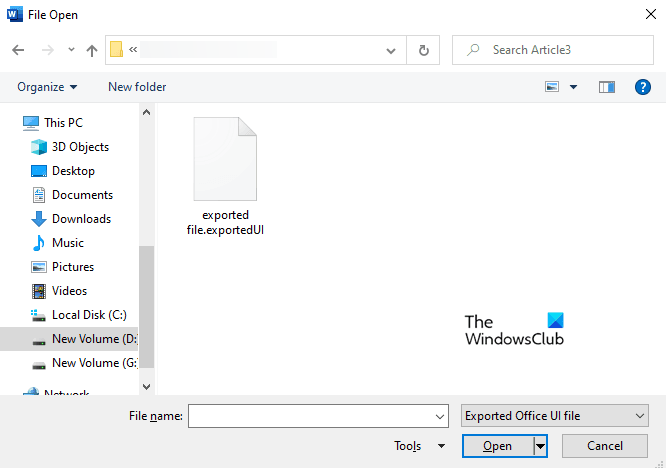
To get it started, open any Microsoft Office app first then go to File > Options. On the next page, click on the Customize Ribbon option available on the left. Then move to the right side, and click on the Import/Export drop-down available at the bottom right corner of the page. Select the Import customization file option. Then navigate to the location where you have saved the “.exportedUI” file. Once you find it, select the file and then click on the Open button. At this time, a popup menu will appear and ask you to replace all existing Ribbon and Quick Access Toolbar customizations for this program then click on the Yes button to approve it. Once all the process is finished the exported file will replace the ribbons of the MS office application. The changes will only be done for a single application and cannot be carried to the other applications of MS office. The same process must be followed for importing changes in different applications. Now read: How to change document theme colors in Microsoft Office programs.
